How To Build A Sandboard
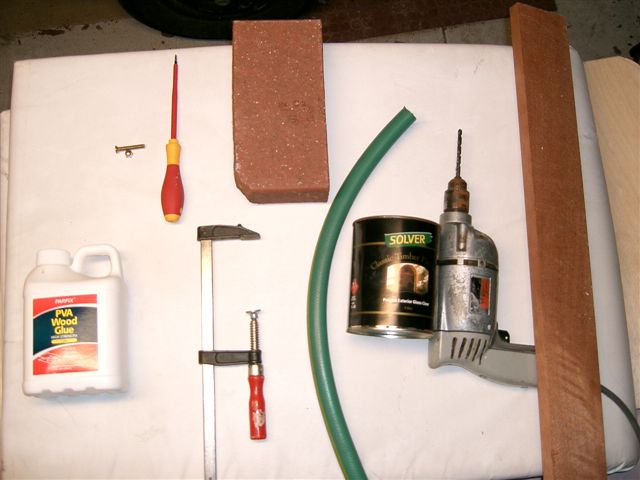
Materials
3 pieces of plywood
PVC wood glue
2 standard red bricks
6 clamps
3 planks of wood
Jigsaw
Drill
2 pieces of garden hose
4 brass screws and 4 dome nuts
1 laminate sheet
Varnish
Construction
Step 1. (PVC wood Glue, 3 pieces of ply)
On a flat surface place the first sheet of plywood. Apply the PVC wood glue evenly over whole surface place the second piece of ply on top and press firmly, making sure all edges line up. Apply glue to the surface evenly, place the third sheet of plywood appropriately and wipe edges.
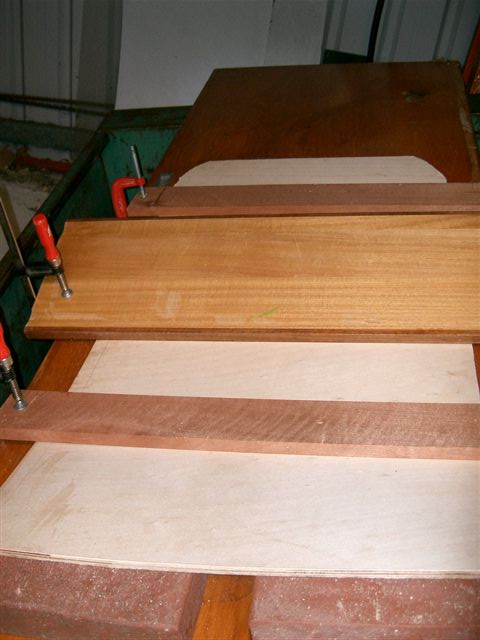
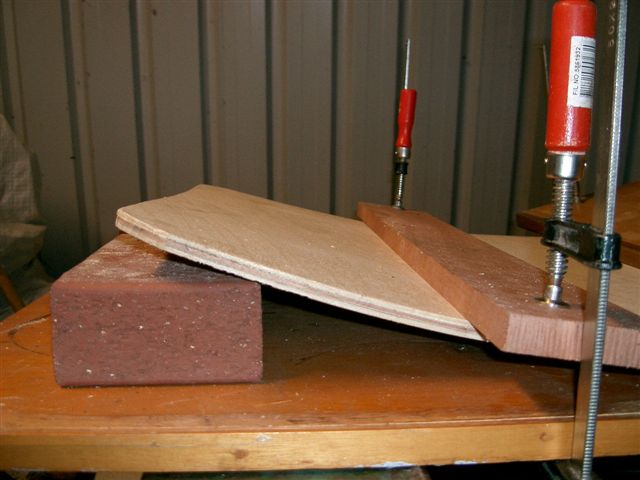
Step 2. (bricks, planks, clamps)
Place the two bricks under the front of the board. Next position the three planks evenly across the board. Screw them down hard, make sure one plank is screwed down close to the bricks, this will give the board the necessary 'kick' needed when sand boarding. Once clamped down and secured leave for 48 hours.

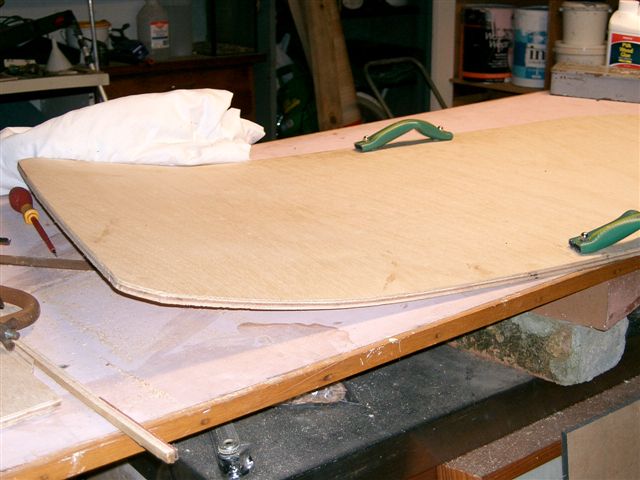
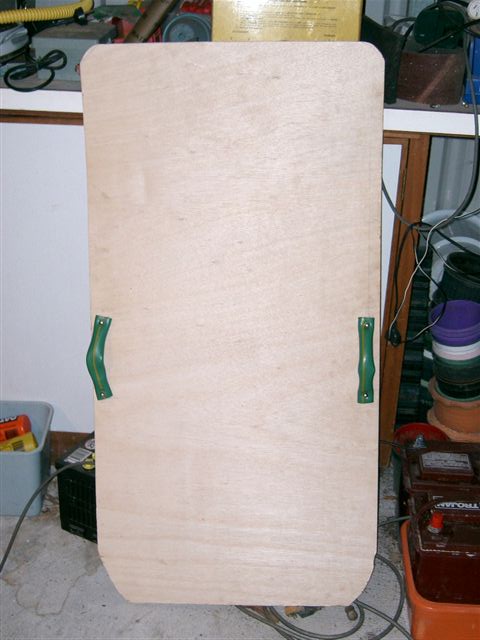
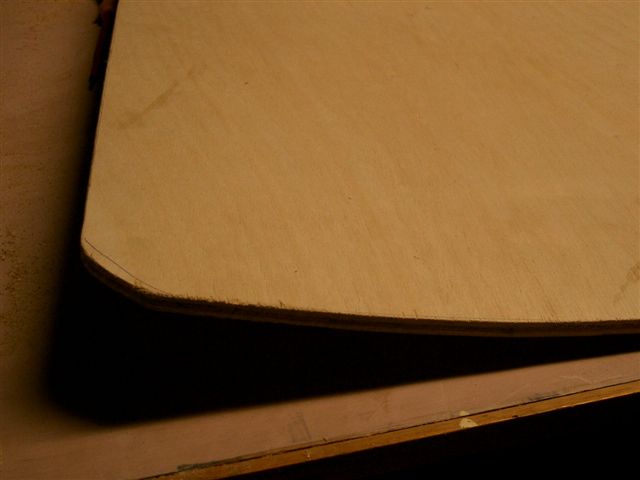
Step 3. (Jigsaw)
Unscrew the clamps and pull out the bricks. Check to see that there is a suitable 'kick' and that there are no cracks in between the three layers (if there is fill with glue and clamp area). Using the jigsaw cut your desired shape. Additionally at this stage you can paint a design on the top of the board.
Step 4. (2 pieces of water hose, screws, nuts)
Handles can be an optional addition for the sit down board. Decide where you want to place the handles, typically on the edges of the board about half way on each side. Drill 4 holes with craters on the bottom of the board, this is important as it allows the screw head to sit in the wood, the base of the board must be smooth and flat so that the laminate can be applied. Brass screws are used so that there is no chance of resting. dome nuts give a smooth finish to the handles and limit injury.


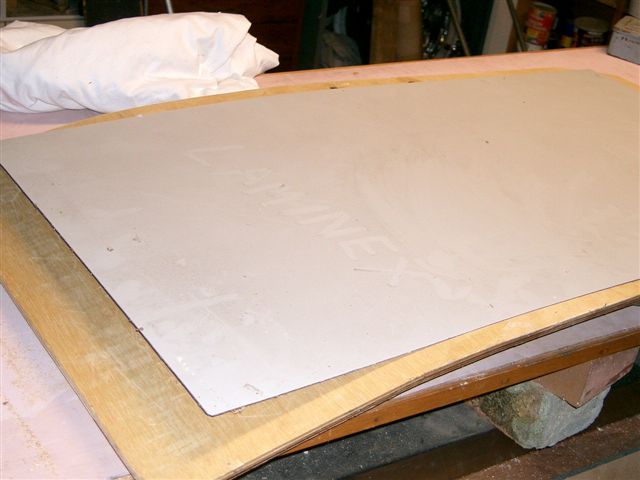
Step 5. (Laminate, jigsaw, PVC wood glue)
Flip the board and glue the bottom of the plywood next glue the surface of the laminate evenly. Place the laminate on the bottom of the board, it is ok if the laminate isn't cut o the same size as the rest of the board, it is easier if this is done after gluing. IMPORTANT: laminate must curve with the board so the same principal used in step 2 must be applied. Clamp firmly so there is good connection all over between the wood and laminate. Leave for 48 hours.
Step 6. (Varnish)
Give the new sandboard two coats of varnish, make sure you don't varnish the laminate. Varnishing protects the sandboard and makes it waterproof.